 |
|||
|
|
|||
|
|
|||
| ||||||||||
|
|
 TM 5-4320-243-15
built into the oil pump body. Oil pressure in excess of
65 psi is bypassed from the pressure side of the oil
pump through the regulator and consists of a calibrated
coil spring to provide correct oil pressure and a relief
valve. If the coil spring loses tension, it should be
replaced. A handhole cover is provided in the bottom of
the oil pan for inspection of the oil screen.
7-39. Oil Pan
b. Drain oil.
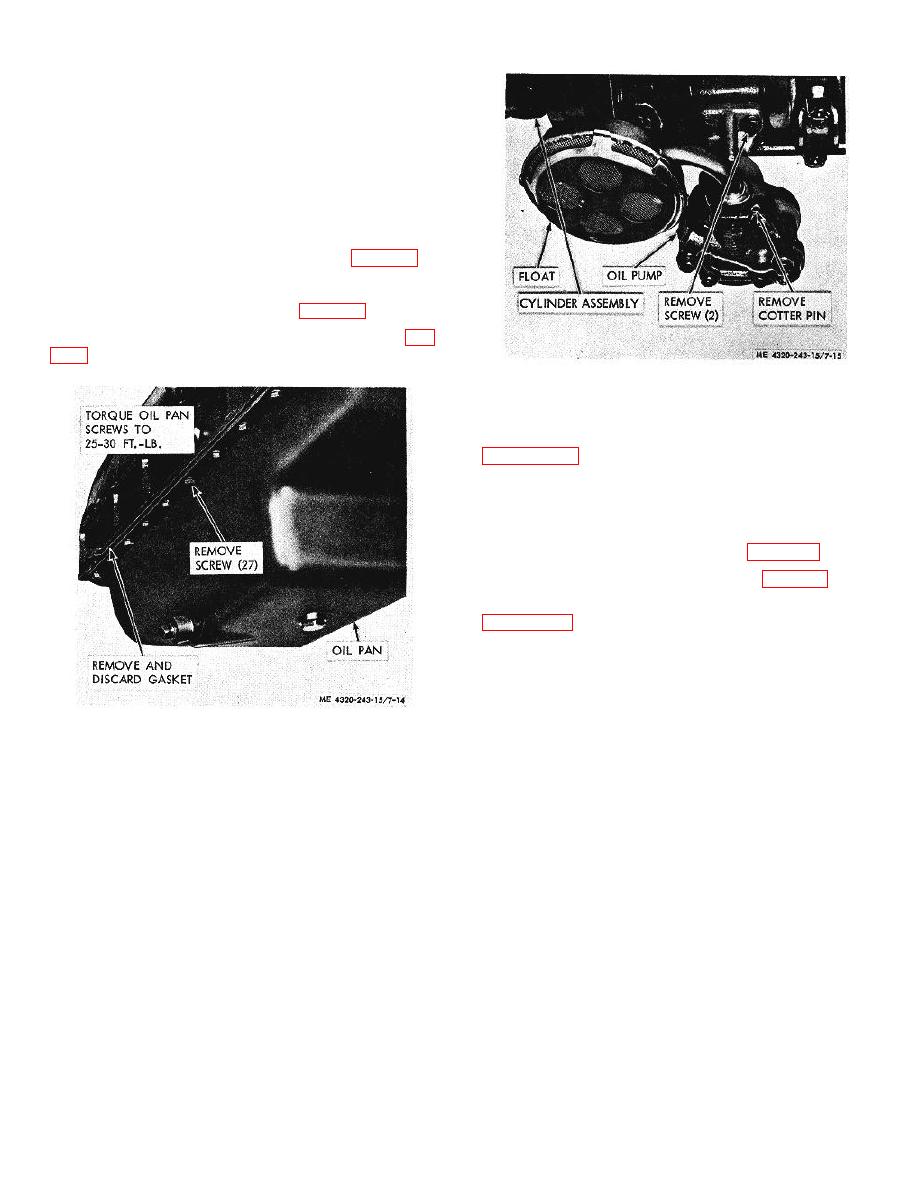
Figure 7-15. Oil pump, removal and installation.
e. Remove and install center bottom sheet.
f. Remove and install the oil pan as shown by
replace with a new one.
7-40. Oil Pump Assembly, Disassembly, and Repair
c. Disassemble the oil pump and float as shown in
Reassemble in opposite sequences.
d. Inspect float-o-assembly oil screen for dirt.
Clean screen with approved solvent.
Figure 7-14. Oil pan, removal and installation
7-21
|
|
Privacy Statement - Press Release - Copyright Information. - Contact Us |
