|
| |
TM 5-4320-305-24
3-7.
REPLACE/REPAIR FLYWHEEL (Continued)
4
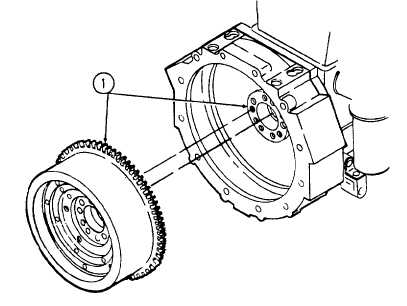
Inspect crankshaft and flywheel
mounting surfaces (1). Lightly
stone to remove any fretting or
brinnelling. Remove dirt and
debris.
INSTALLATION:
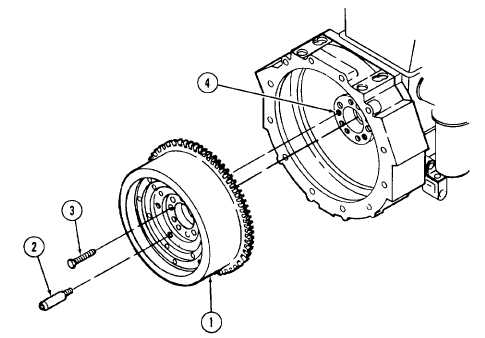
1
Aline
flywheel
(1)
mounting
holes with mounting holes on
crankshaft (4). Insert bolts (3)
and tighten hand tight.
2
Restrain flywheel (1) and tighten bolts (3) alternately and evenly across flywheel (1) to 22.13 ft-lb (30 N.m) torque
using socket wrench. Using socket wrench and angular torque gage, tighten bolts alternately and evenly an
additional 30 degrees, then another 60 degrees.
3
Restrain flywheel (1). Install drive pins (2). Take restraint off flywheel. Make sure flywheel turns freely with no
hitches or tight spots.
3-38
|