 |
|||
|
|
|||
|
Page Title:
Section III. REPAIR OF RADIATOR |
|
||
| ||||||||||
|
|
 TM 5-4320-234-34
b.
Install the magneto (TM 5-4320-234-14, para 4-
35).
c.
Adjust the governor (TM 5-4320-234-12, para 4-
27).
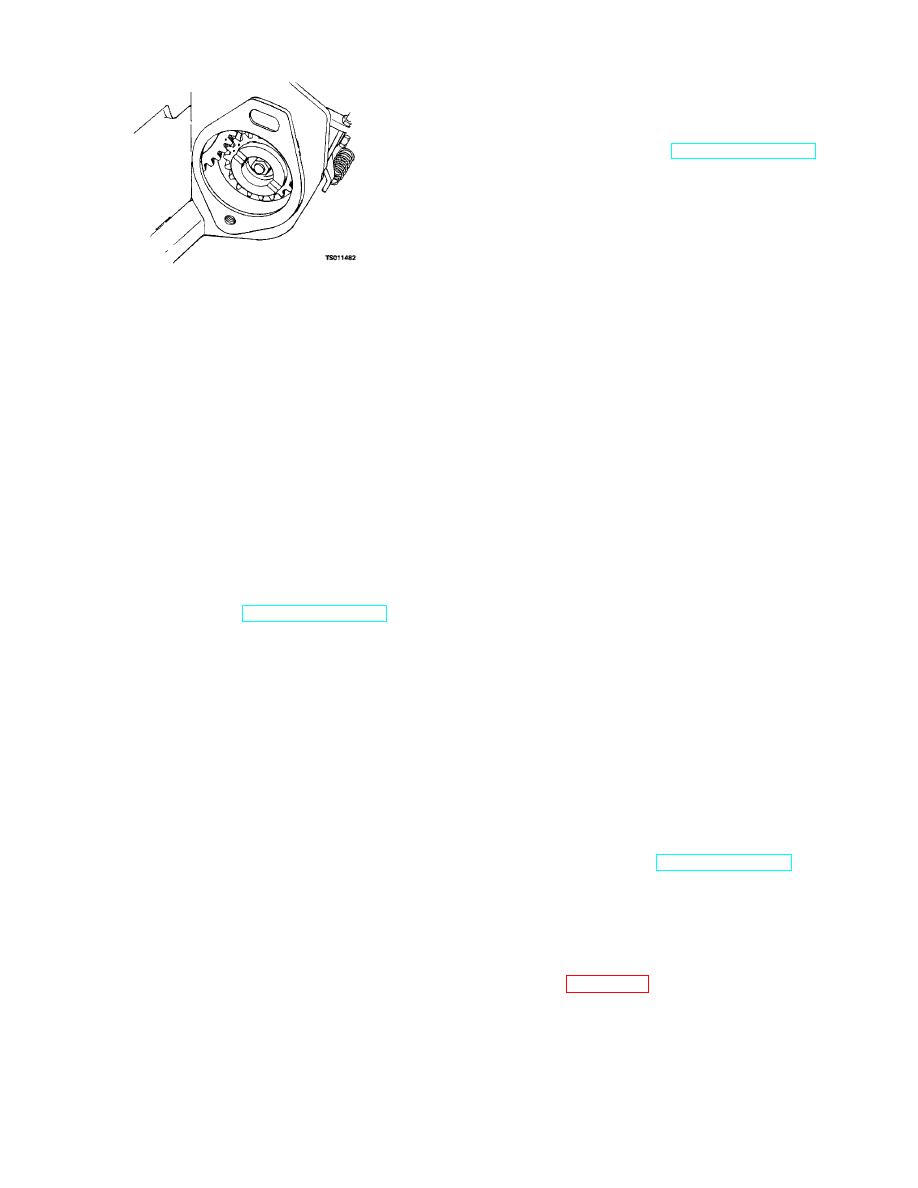
Figure 3-3. Timing marks on governor drive gear and
cam gear.
Section III. REPAIR OF RADIATOR
CAUTION
3-7. Description
Do not exceed 10 psi air pressure for
Liquid coolant is pumped through passages in the
radiator testing.
Excess pressure will
engine to remove the heat of combustion. As the hot
damage the radiator. Make sure that you
coolant is pumped from the engine, it enters the
completely drain the radiator core before
radiator, which is a large heat exchanger consisting of
testing. When testing at low pressure, it is
tubes and fins that dissipate the heat to the atmosphere.
possible that water within the core could
The fluid passes into the top of the radiator and out
prevent air from passing out of small
through the bottom. The cooling fan maintains a blast
holes, and the leaks could remain
of air through the radiator to help dissipate the heat.
undetected.
The coolant from the radiator is recirculated through the
engine to complete the cycle.
b.
Make sure the radiator is completely drained
of coolant. Plug all openings, except one through which
3-8. Removal
compressed air can be applied. Immerse the radiator in
Remove the radiator (TM 5-4320-234-12, para 4-
a tank of water and apply 10 psi air pressure to the
32).
interior of the radiator. Check for air bubbles that could
indicate leaks. If leaks are found, mark the areas for
3-9. Cleaning
repairs.
a.
You may clean the exterior of the radiator by
c.
Inspect all hardware for cracks and for worn
flushing in a reverse-flow direction with a stream of
or stripped threads.
water to remove all bugs and debris. Remove any
greasy or oil deposits with cleaning solvent (Fed. Spec.
d.
Replace all parts damaged beyond repair.
P-D-680).
3-11. Repair
b.
Reverse-flush the interior of the radiator,
a.
Repair leaks by soldering. Be sure that you
using a flushing gun.
do not block or retard circulation through any tubes.
c.
If flushing fails to remove scale from the
There shall be no blocked tubes upon completion of
interior of the radiator, boil it out in accordance with
repairs.
current directives.
3-12. Installation
3-10. Inspection and Testing
Install the radiator (TM 5-4320-234-12, para 4-32).
a.
Inspect all parts for cracks, leaking tubes or
gaskets, damaged threads, or other obvious damage.
Section IV. REPAIR OF OIL SYSTEM COMPONENTS
3-13. Description of Engine Oil System
the main bearing caps of the engine.
Internal
components of the engine lubrication system are
a.
The engine oil syste provides lubrication
m
covered in Chapter 4, which describes basic engine
for the working surfaces within the engine. The oil is
repair and overhaul.
retained in the oil pan under the engine and is circulated
through the engine by the oil pump mounted on one of
b.
An oil filter with its related piping is mounted
3-4
|
|
Privacy Statement - Press Release - Copyright Information. - Contact Us |